
-
-

-

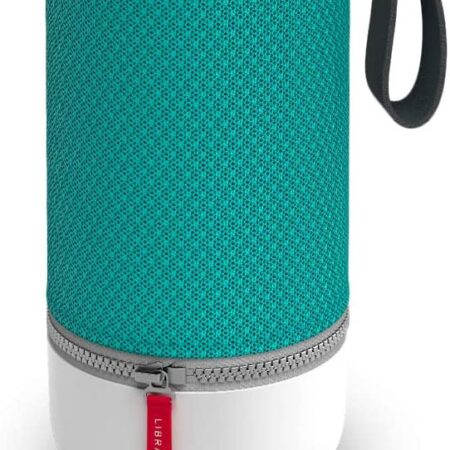
Vifa Helsinki Bluetooth Speaker, Hi-Resolution Bluetooth 4.0 Wireless Speakers
₦120,000.00₦120,000.00× -
-

-

-
-
-

-
-
-

-
-
-
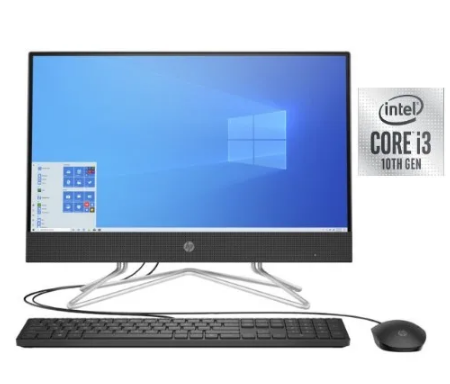
HP 22 ALL IN ONE DESKTOP 22″ , Intel® Core™ I3-10100T, 8GB RAM 1TB HDD,WIN 10
₦405,000.00₦405,000.00× -

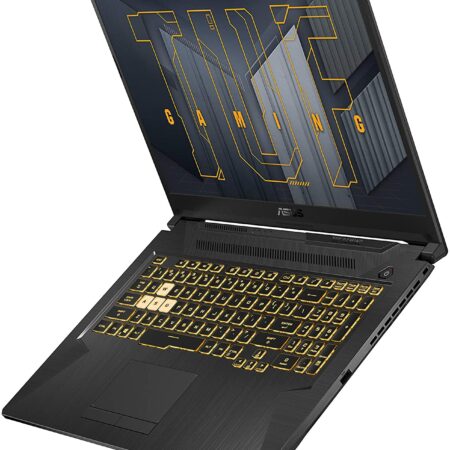
ASUS TUF Gaming Laptop, 15.6” 120Hz FHD IPS-Type, AMD Ryzen 5, GeForce RTX 2060, 16GB DDR4, 512GB
₦670,000.00₦670,000.00× -
ASUS X409FA-BV581T 14.0-INCH HD, 90NB0MS2-M08720, INTEL CORE™ I3-10110U, 4GB RAM
₦230,000.00₦230,000.00× -
-
-
-
-

-

-
-

-
-
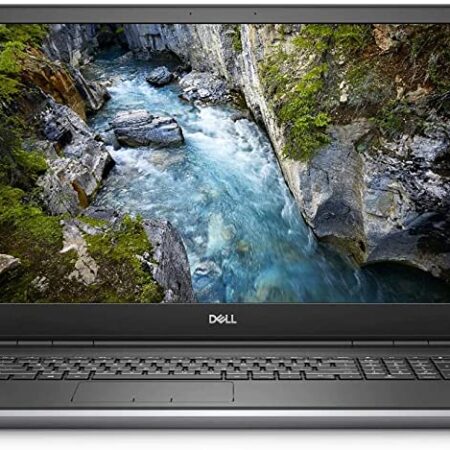
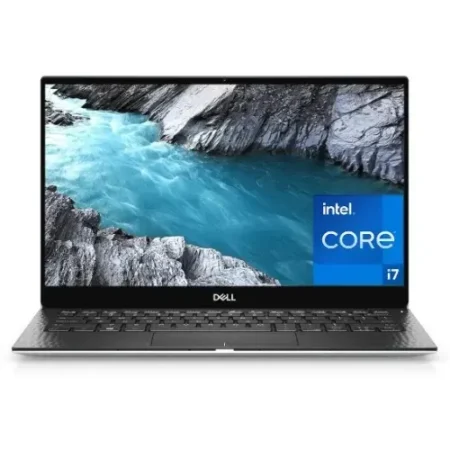
Dell Precision 7750 17.3 - Core i7- 512GB SSD 32GB RAM - Windows 10 Pro
₦1,230,000.00₦1,230,000.00×
 09153992355
4 ways to capture your screenshot on your Mac

Depending on which Apple computer you have — MacBook Pro, MacBook Air or iMac — you may have up to four ways to take a screenshot
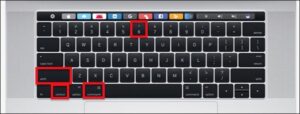
If you own an any kind of Mac you have three ways to take a screenshot with keyboard shortcuts– and if you have a MacBook with a touch bar you have a fourth method. In this guide we’ll show you the various keyboard shortcuts you need to know to take a screenshot on your Mac. We’ll also show you walk you what you can do with those screenshots once you’ve taken them. Apple gives you a fair number of options to easily save, delete and open the screenshot for markup.
Command-Shift-3
This keyboard shortcut captures a screenshot of your entire screen.
Shift-Command-4
Use this keyboard combo to turn your cursor into a crosshair, which you can drag to select a portion of your screen to capture. Release the mouse button or trackpad to take the shot.
You have a number of other options after hitting Shift-Command-4:
Press and release the space bar: The crosshair turns into a little camera icon, which you can move over any open window. Click on your desired window to take a screenshot of it. A screenshot captured by this method features a white border around the window with a bit of a drop shadow.
Press and hold the space bar (after dragging to highlight an area but before releasing the mouse button or trackpad): This locks in the shape and size of the selection area but lets you reposition it on the screen. It’s very handy if your initial selection area is off by a few pixels; just hold down the space bar to reposition it before releasing the mouse button to snap a screenshot.
Hold down the Shift key (after dragging to highlight an area but before releasing the mouse button or trackpad): This locks in each side of the selection area made with the crosshairs save the bottom edge, letting you move your mouse up or down to position the bottom edge.
Without releasing the mouse button, release the Shift key and hit it again to reposition the right edge of your selection area. You can toggle between moving the bottom edge and right edge by keeping the mouse button or touchpad engaged and pressing the Shift key.
Shift-Command-5
A shortcut command introduced in MacOS Mojave (2018), this combination calls up a small panel at the bottom of your display with your screen capture options. There are three screenshot buttons that let you capture the entire screen, a window or a selection of your screen.
Likewise, the two video-recording buttons let you record your entire screen or a selection of it. On the left is an X button to close the screenshot panel, but you can also just hit the Escape key to exit out.
On the right side is an Options button. It lets you choose where to save your screenshot — Desktop, Documents, Clipboard, Mail, Messages, Preview or Other Location and set a 5- or 10-second delay so you can line up items that might otherwise disappear when you engage your screenshot tool.
Related Posts
Best Laptop In Nigeria For 2022: Here Are Laptops We Recommend
Best Laptop In Nigeria for 2022: Here Are Laptops We Recommend With so

Reasons To Get The Samsung Ultra S22
Welcome To Kaaltech Online Store The one place that gives you insights on your

Leave a comment
You must be logged in to post a comment.